1. Open Wi-Fi settings
- Go to the “Settings” of your phone.
- Open the “Wi-Fi” section.

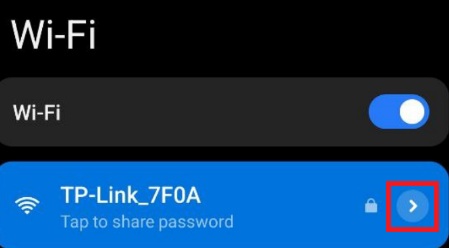
2. Go to advanced settings of the connected Wi-Fi network
- Tap the arrow next to the Wi-Fi network you’re connected to.
- On some Android devices, you need to long-press the network and then select “Change network” or “Edit”.
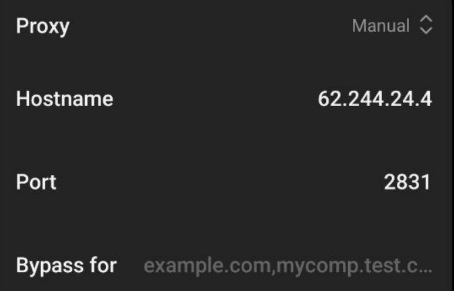
3. Configure the proxy
- Scroll down the menu and find “Proxy”.
- Tap “Proxy” and change it to “Manual”.

4. Enter proxy details
- In the “Hostname” field, enter the IP address of the proxy server.
- In the “Port” field, enter the port.
5. Save settings
Tap the checkmark at the top of the menu to apply the settings.

6. Go to Google Chrome
- If the settings are correct, the browser will prompt you to enter the proxy login and password.

Important to know:
- Android does not support SOCKS5 proxy at the system Wi-Fi settings level.
- This works only in apps that support standard HTTP(s) proxy, such as Chrome, Firefox.
- Some apps (such as Instagram, YouTube, TikTok, messengers) may ignore system proxy settings or may not work with authenticated proxies.
If you need all traffic from the entire device to go through a different IP, we recommend our VPN solutions.
0 Comments