The Proxy Helper extension is a simple and convenient tool for working with proxies. In this article, we’ll take a detailed look at how to install and configure Proxy Helper in Chrome.
Step 1: Installing the Proxy Helper Extension
1. Open the Chrome Web Store.
2. Search for Proxy Helper.
3. Click the “Add to Chrome” button.
4. Confirm the installation by clicking “Add Extension”.
Step 2: Configuring the Proxy
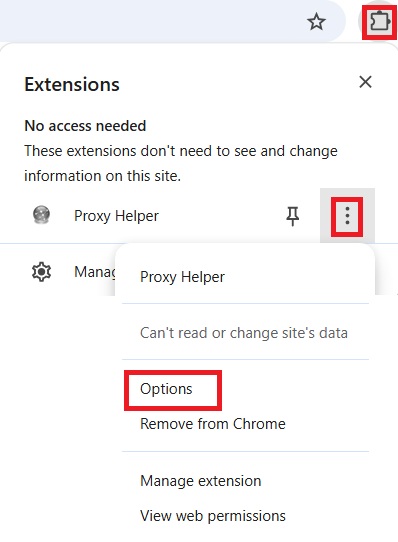
1. Go to the extension settings.
2. In the HTTP PROXY field, enter the IP and port of your proxy server.

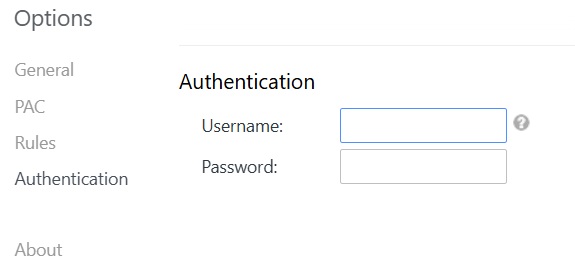
3. Go to the “Authentication” section and enter your username/password.
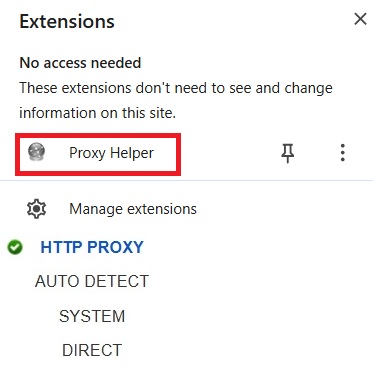
4. Switch the extension to work via HTTP proxy.
5. To ensure the proxy is working, visit any specialized website to check your IP address.
The Proxy Helper extension is a simple way to control your network connection through a proxy without complex system configurations. Check out our high-speed proxy servers that are perfect for Chrome, scraping, SEO tasks, and more!
0 Comments